Title: "Mastering Terraform Resources: Securing and Launching Your EC2 Instance"

Title: "Mastering Terraform Resources: Securing and Launching Your EC2 Instance"
Introduction:
Welcome back to our Terraform journey! In the previous post, we discussed the fundamentals of Terraform blocks and resources. Today, we're taking a hands-on approach by creating a security group and launching an EC2 instance. Get ready to dive into the practical side of Terraform as we embark on the third day of our Terraform adventure!
Task 1: Creating a Security Group
Securing your infrastructure is crucial, and in this task, we'll set up a security group to control incoming traffic to our EC2 instance.
resource "aws_security_group" "web_server" {
  name_prefix = "web-server-sg"

  ingress {
    from_port   = 80
    to_port     = 80
    protocol    = "tcp"
    cidr_blocks = ["0.0.0.0/0"]
  }
}
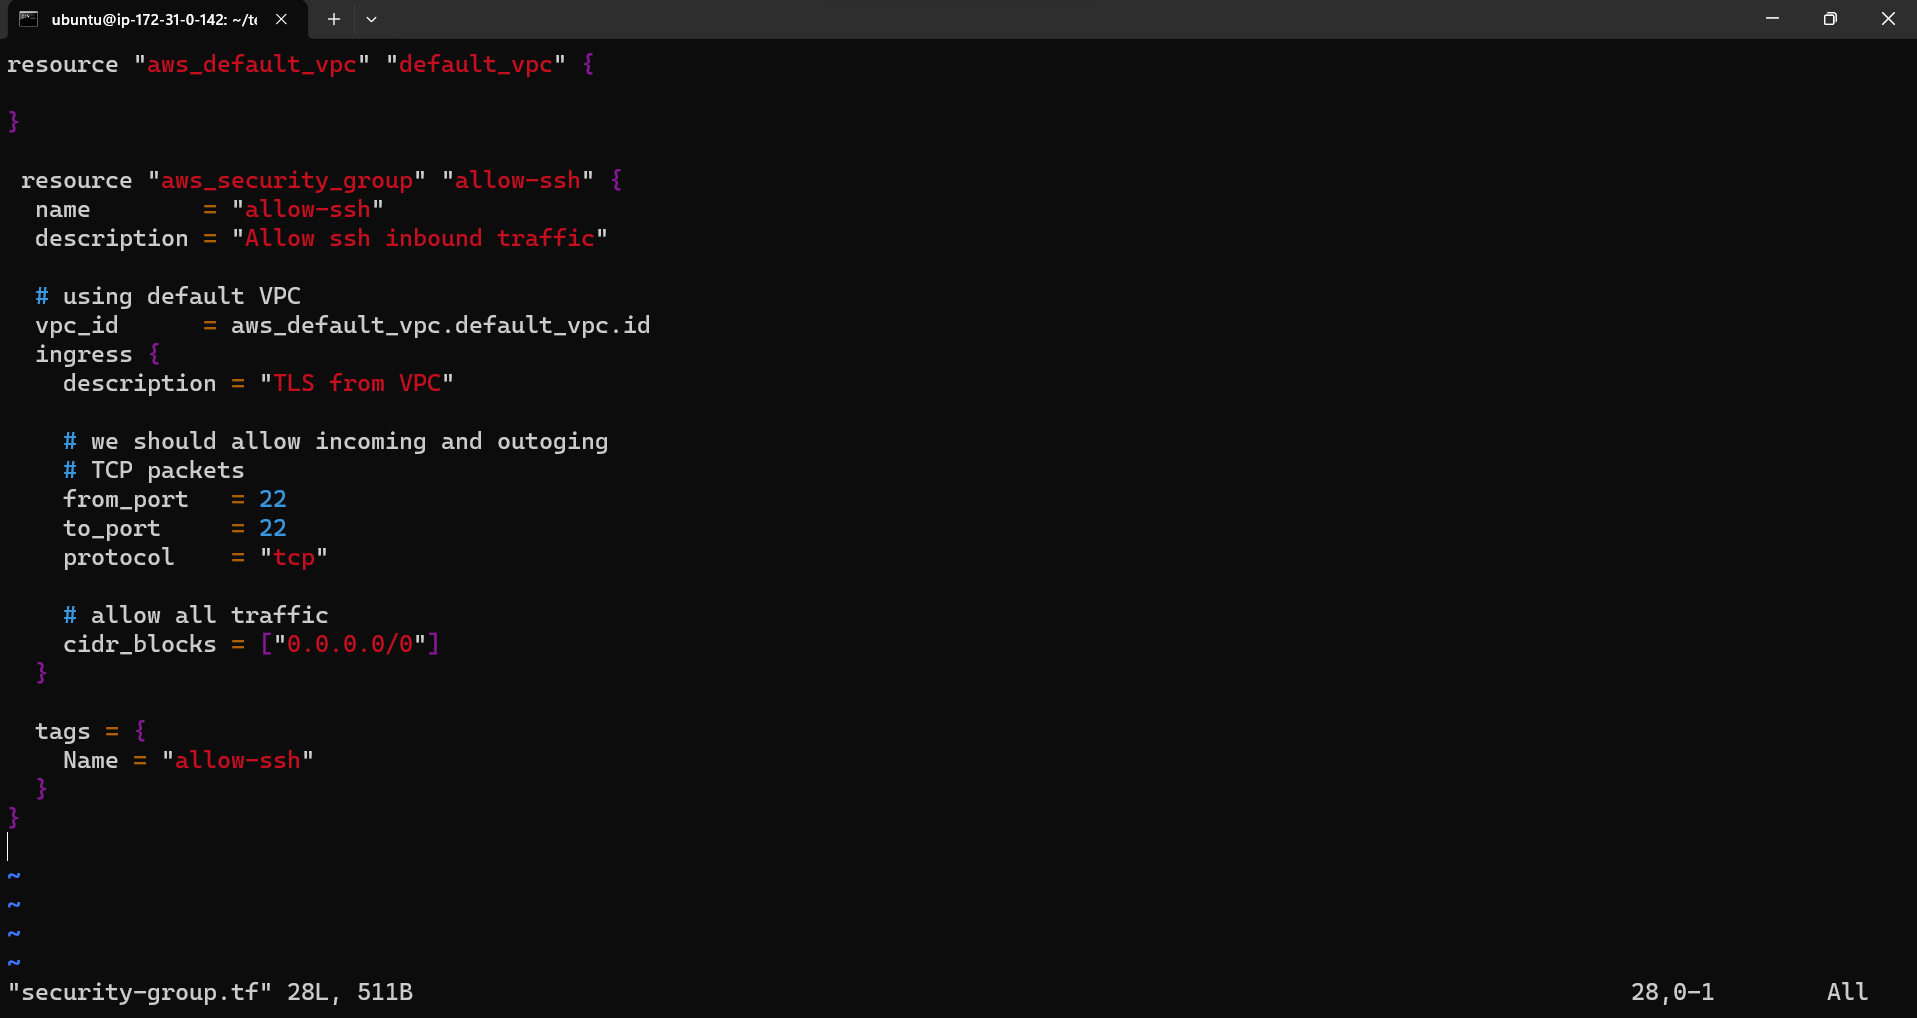
Explanation:
We define an AWS security group resource named "web_server" with a unique name prefix.
The
ingressblock specifies that traffic on TCP port 80 (HTTP) from any IP address (0.0.0.0/0) is allowed.
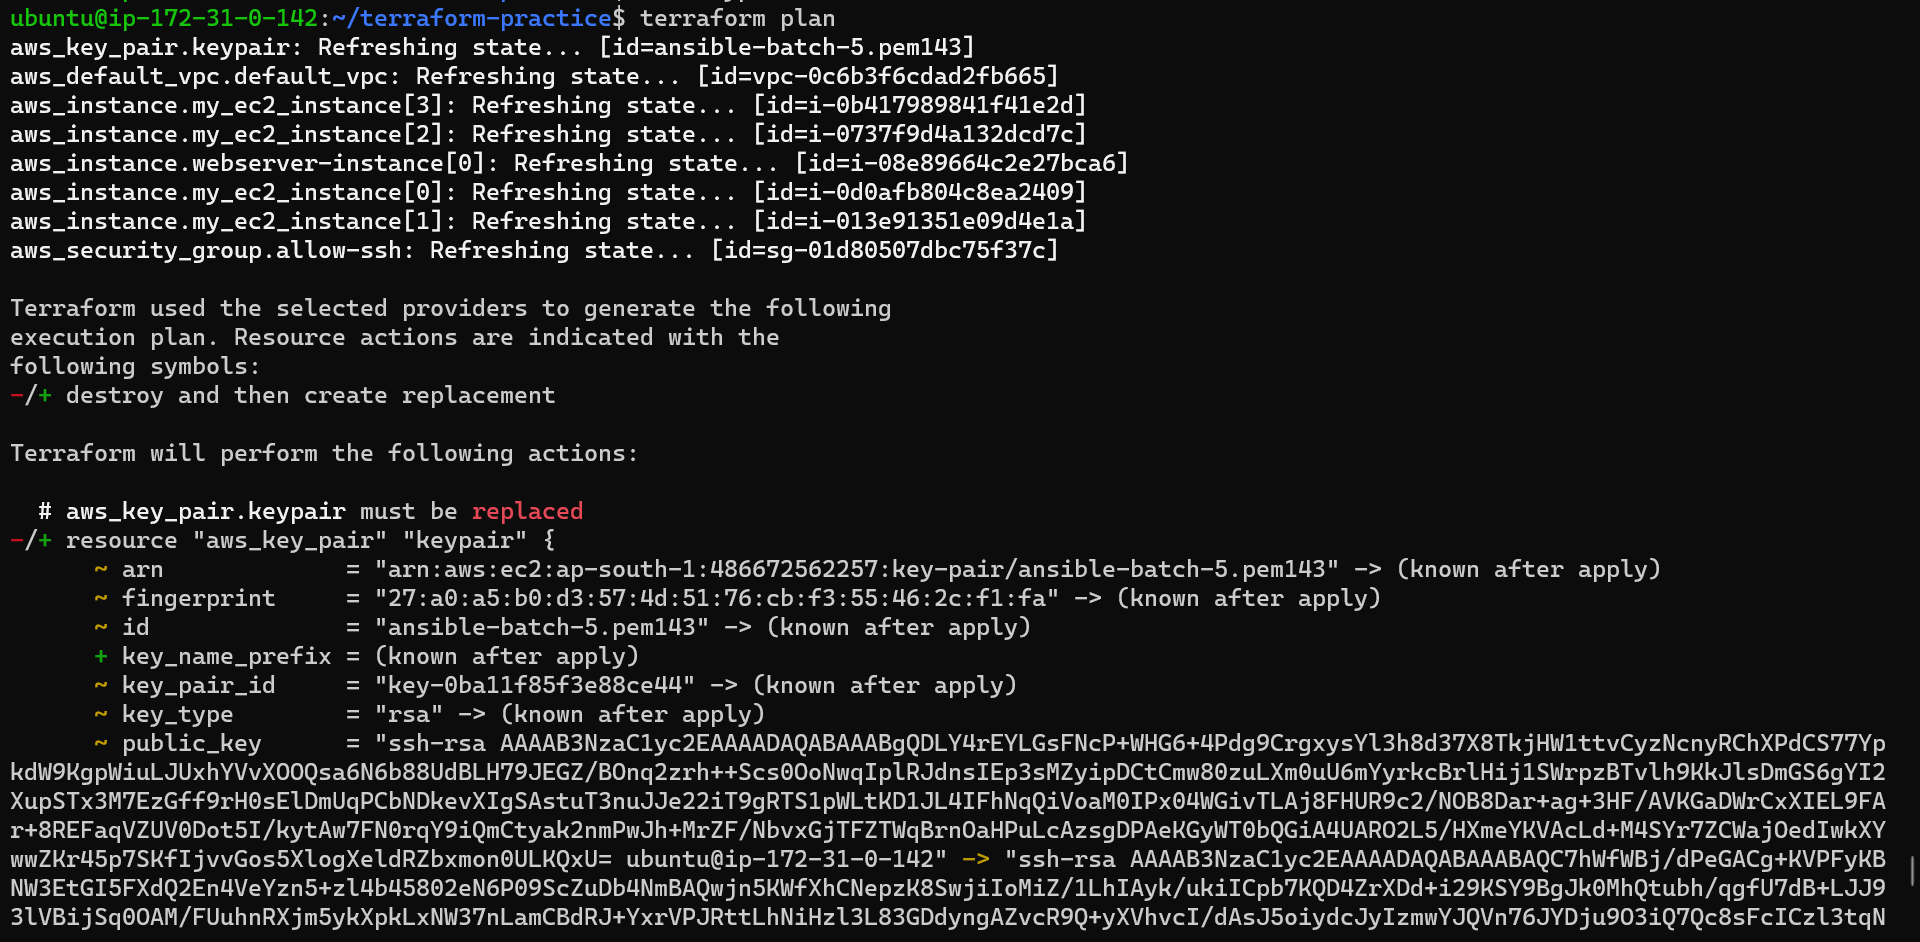
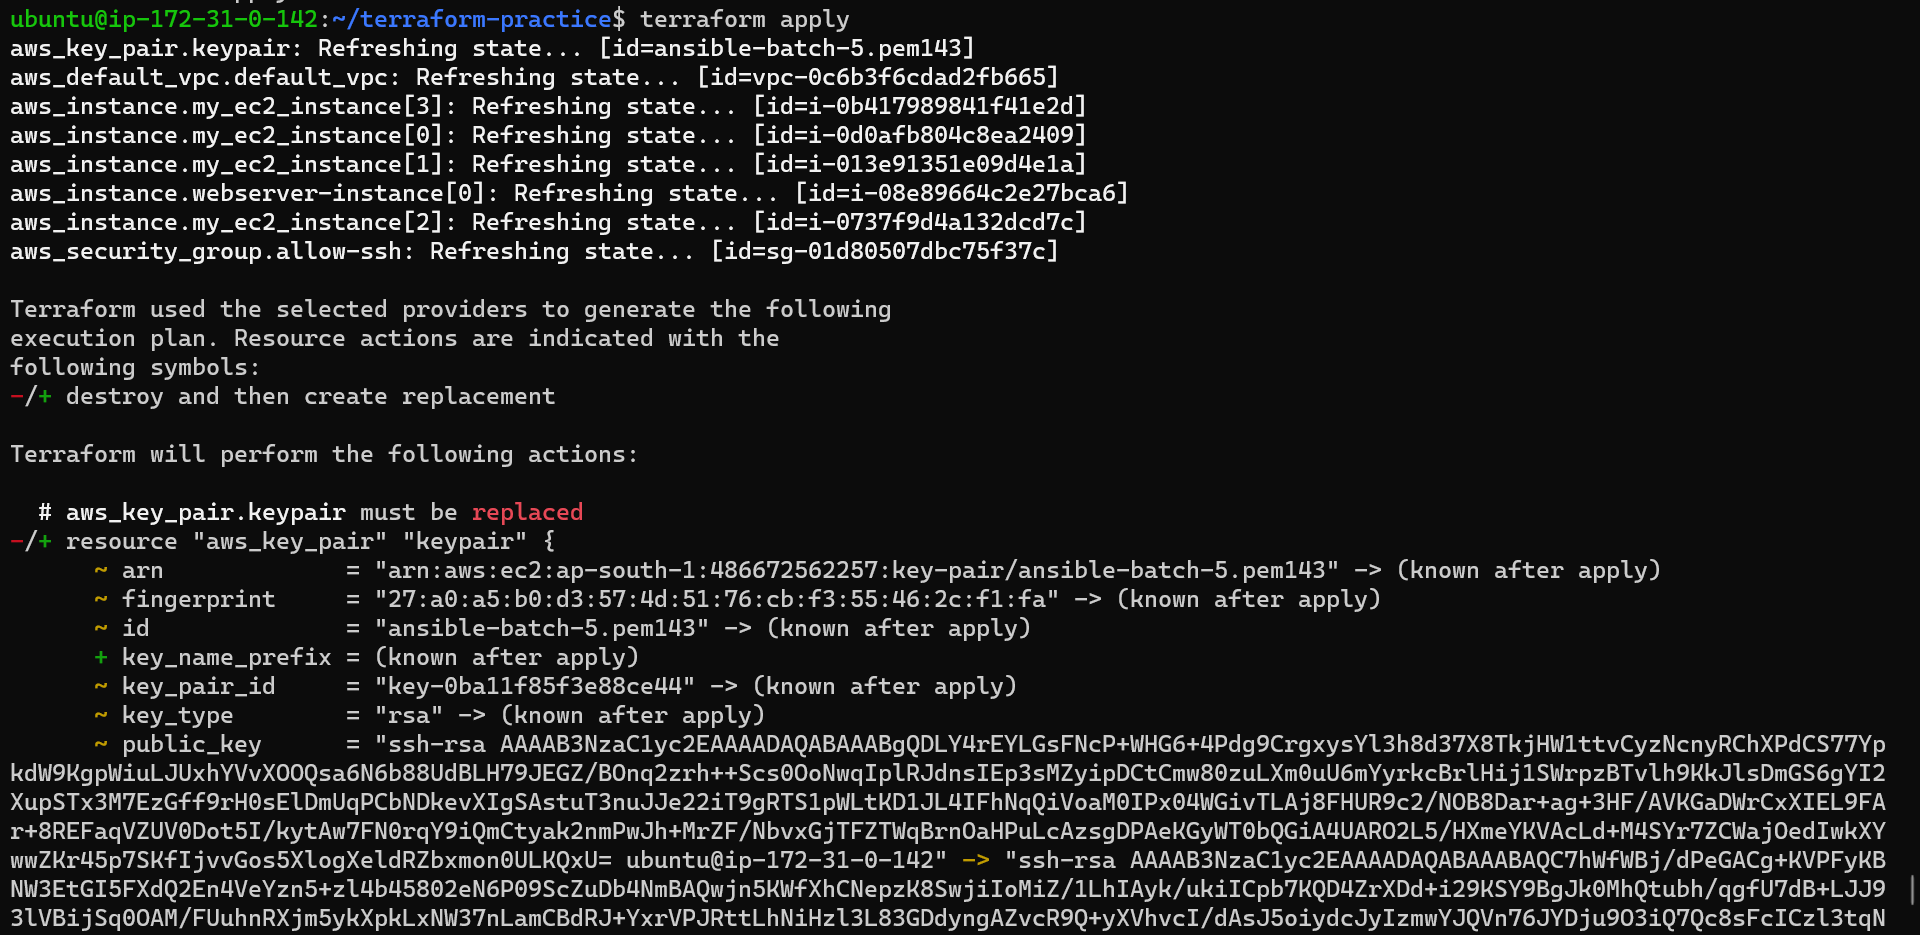
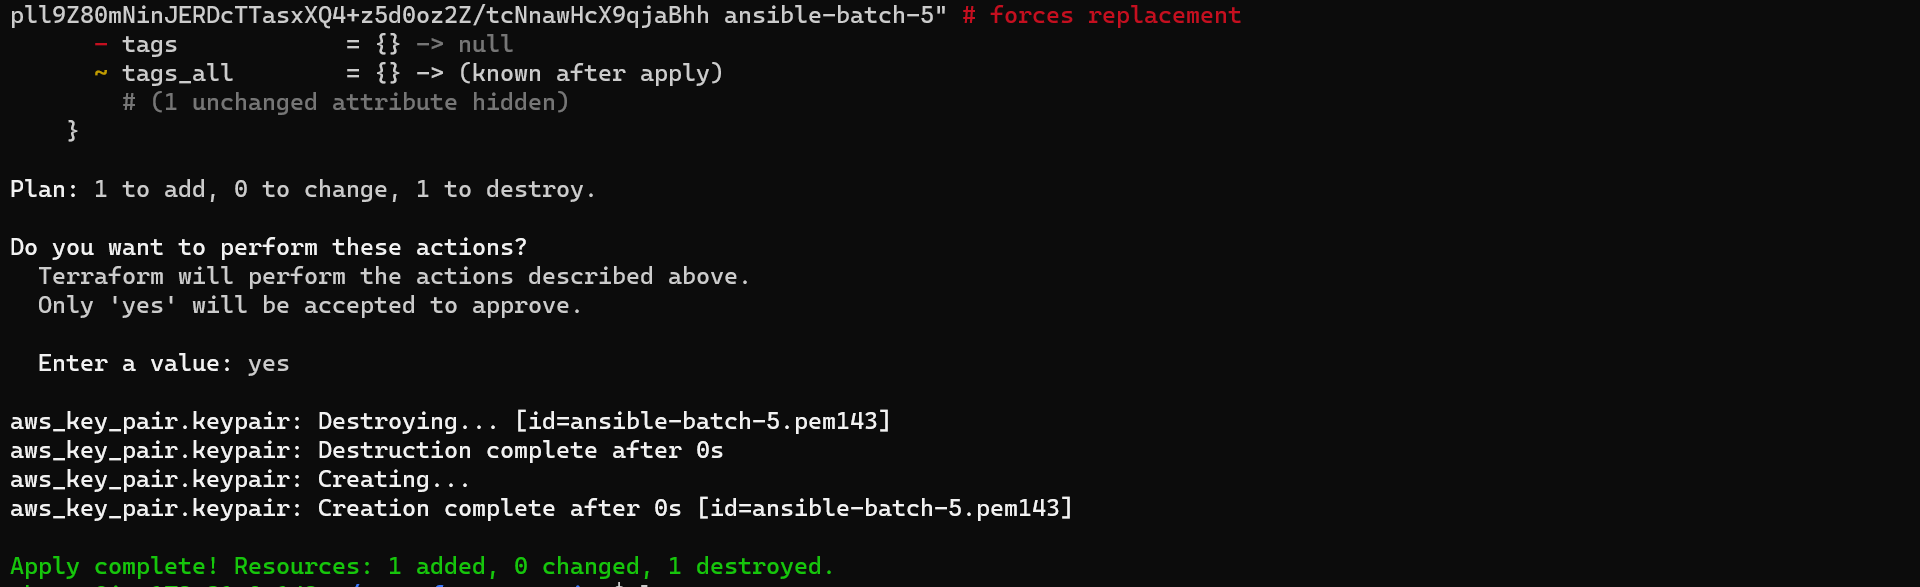
Run the following commands in your terminal:
terraform init
terraform apply

Task 2: Launching an EC2 Instance
Now that we've secured our infrastructure, let's move on to launching an EC2 instance.
resource "aws_instance" "web_server" {
  ami           = "ami-0557a15b87f6559cf"
  instance_type = "t2.micro"
  key_name      = "my-key-pair"
  security_groups = [
    aws_security_group.web_server.name
  ]

  user_data = <<-EOF
              #!/bin/bash
              echo "<html><body><h1>Welcome to my website!</h1></body></html>" > index.html
              nohup python -m SimpleHTTPServer 80 &
              EOF
}
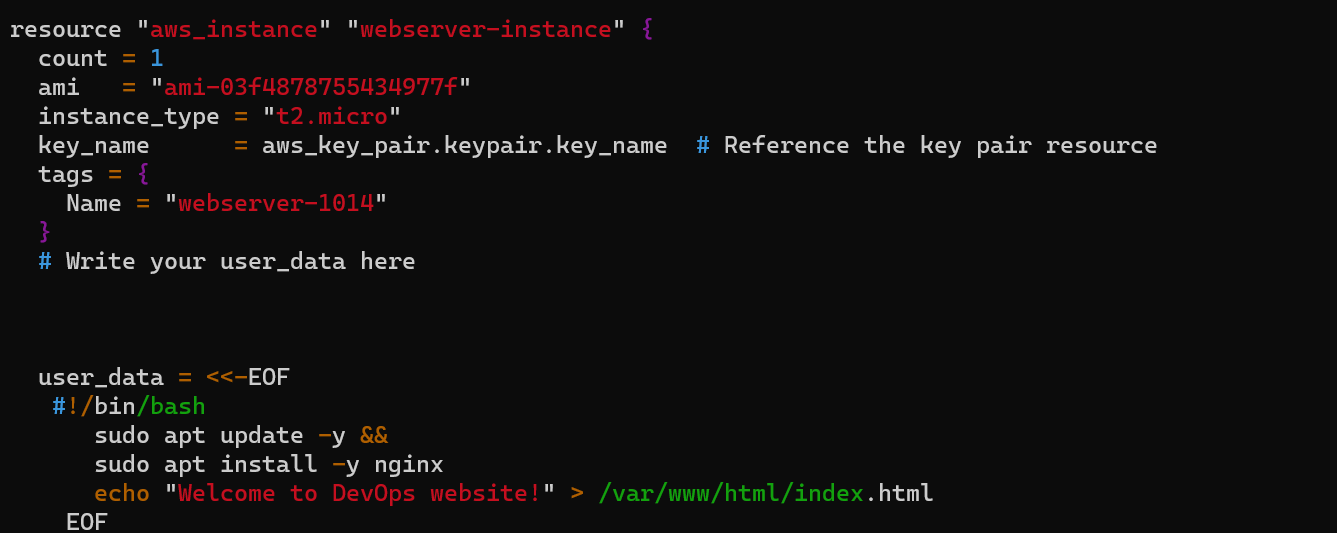
Explanation:
We create an AWS EC2 instance named "web_server" with a specific Amazon Machine Image (AMI), instance type, and associated key pair.
The
security_groupsattribute links the instance to the previously created security group.The
user_datascript configures a simple web server to serve a welcome page.
Run the following command to apply the changes:
terraform apply
Task 3: Accessing Your Website
With your EC2 instance up and running, access the website using the instance's public IP. Simply navigate to http://<your-instance-public-ip> in your web browser.
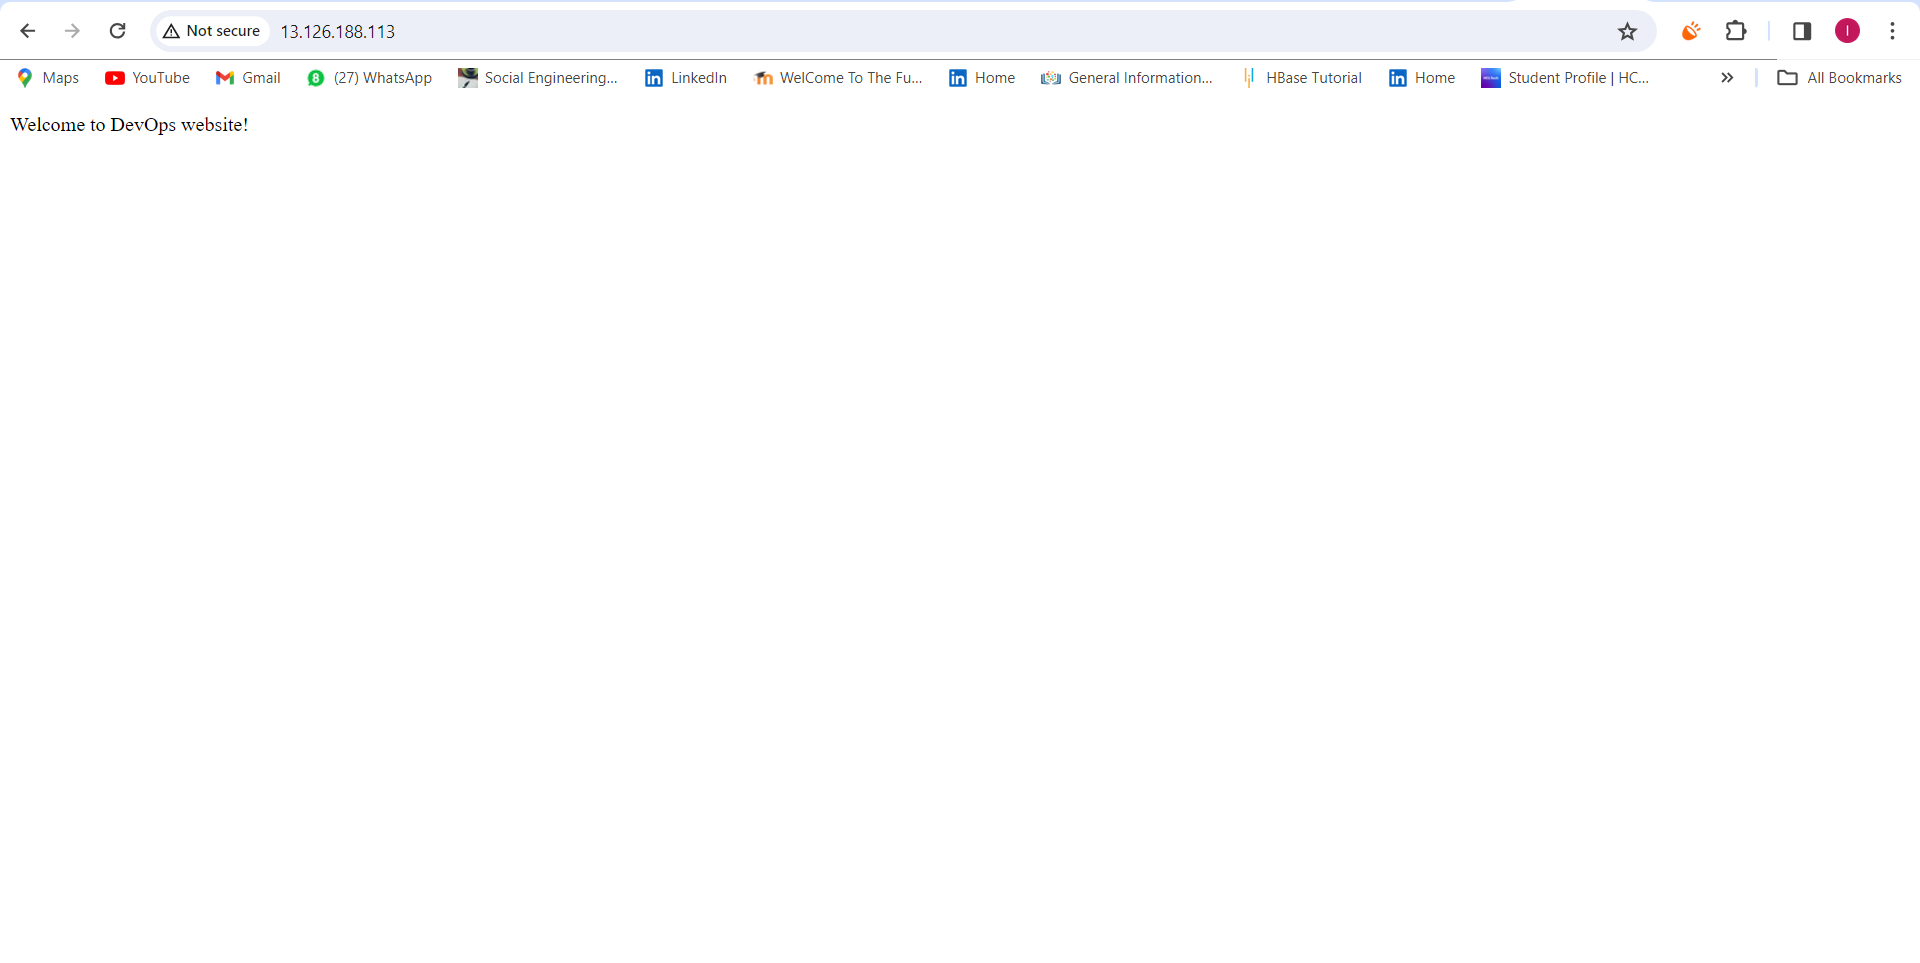
Congratulations! You've successfully orchestrated a secure EC2 instance with Terraform. Stay tuned for more Terraform adventures in the upcoming posts.
Happy Terraforming! 🚀
Conclusion:
In this article, we explored the practical side of Terraform by creating an AWS security group and launching an EC2 instance. These hands-on tasks provide a practical understanding of how Terraform resources can be utilized to shape your infrastructure. Stay tuned for more advanced Terraform concepts in the next posts!