Day 26 Task: Jenkins Declarative Pipeline
Introduction: In the realm of DevOps and CI/CD, the Jenkins Declarative Pipeline stands as a pivotal element, offering a structured and code-driven approach to defining, managing, and automating the software delivery process. This task delves into the foundational steps of creating a Jenkins Declarative Pipeline job, emphasizing the significance of treating the CI/CD pipeline as code.
Task-01: Creating a Jenkins Declarative Pipeline Job
Step 1: Open Jenkins Dashboard and Create a New Pipeline Job
Access your Jenkins dashboard and click on "New Item."
Enter a name for your job (e.g., "MyDeclarativePipelineJob").
Choose "Pipeline" as the job type and click on "OK."
Step 2: Configure Pipeline Script
In the job configuration page, find the "Pipeline" section.
Select "Pipeline script" from the Definition dropdown.
Step 3: Write a Declarative Pipeline Script
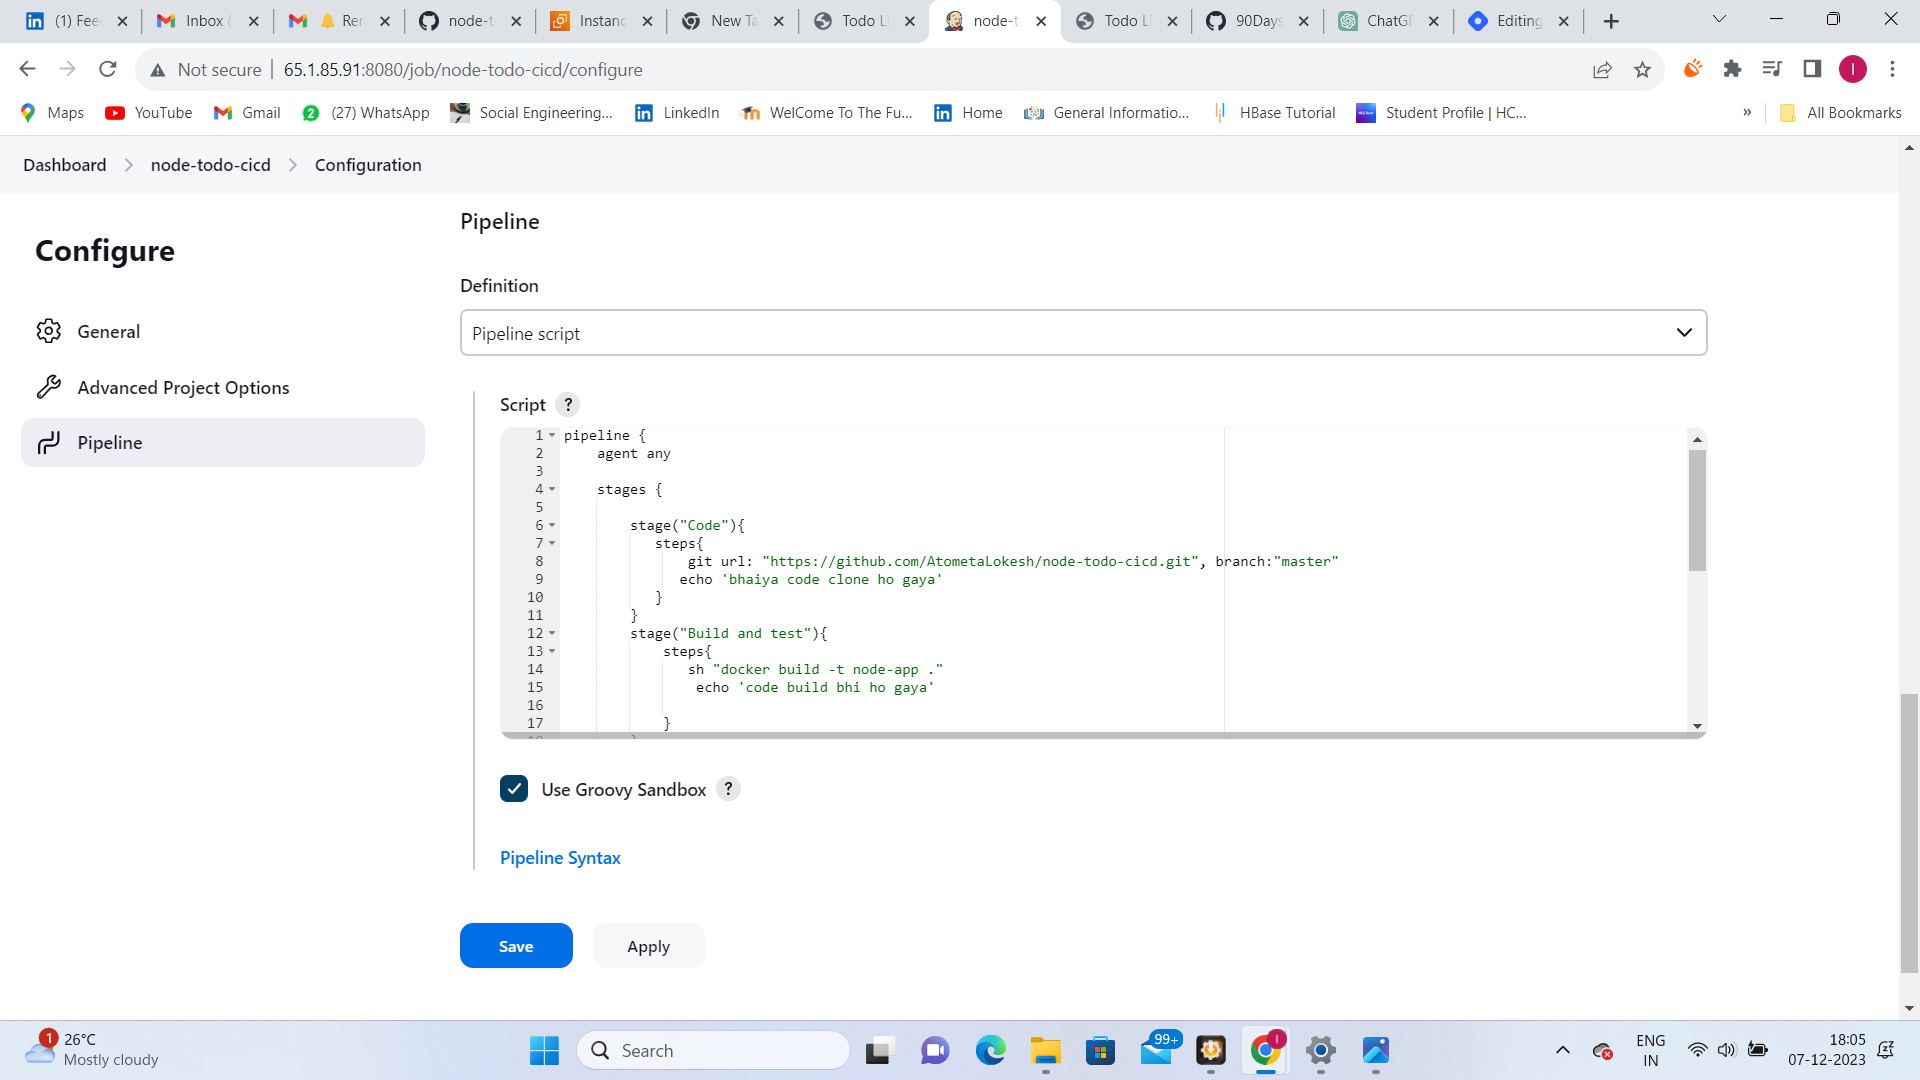
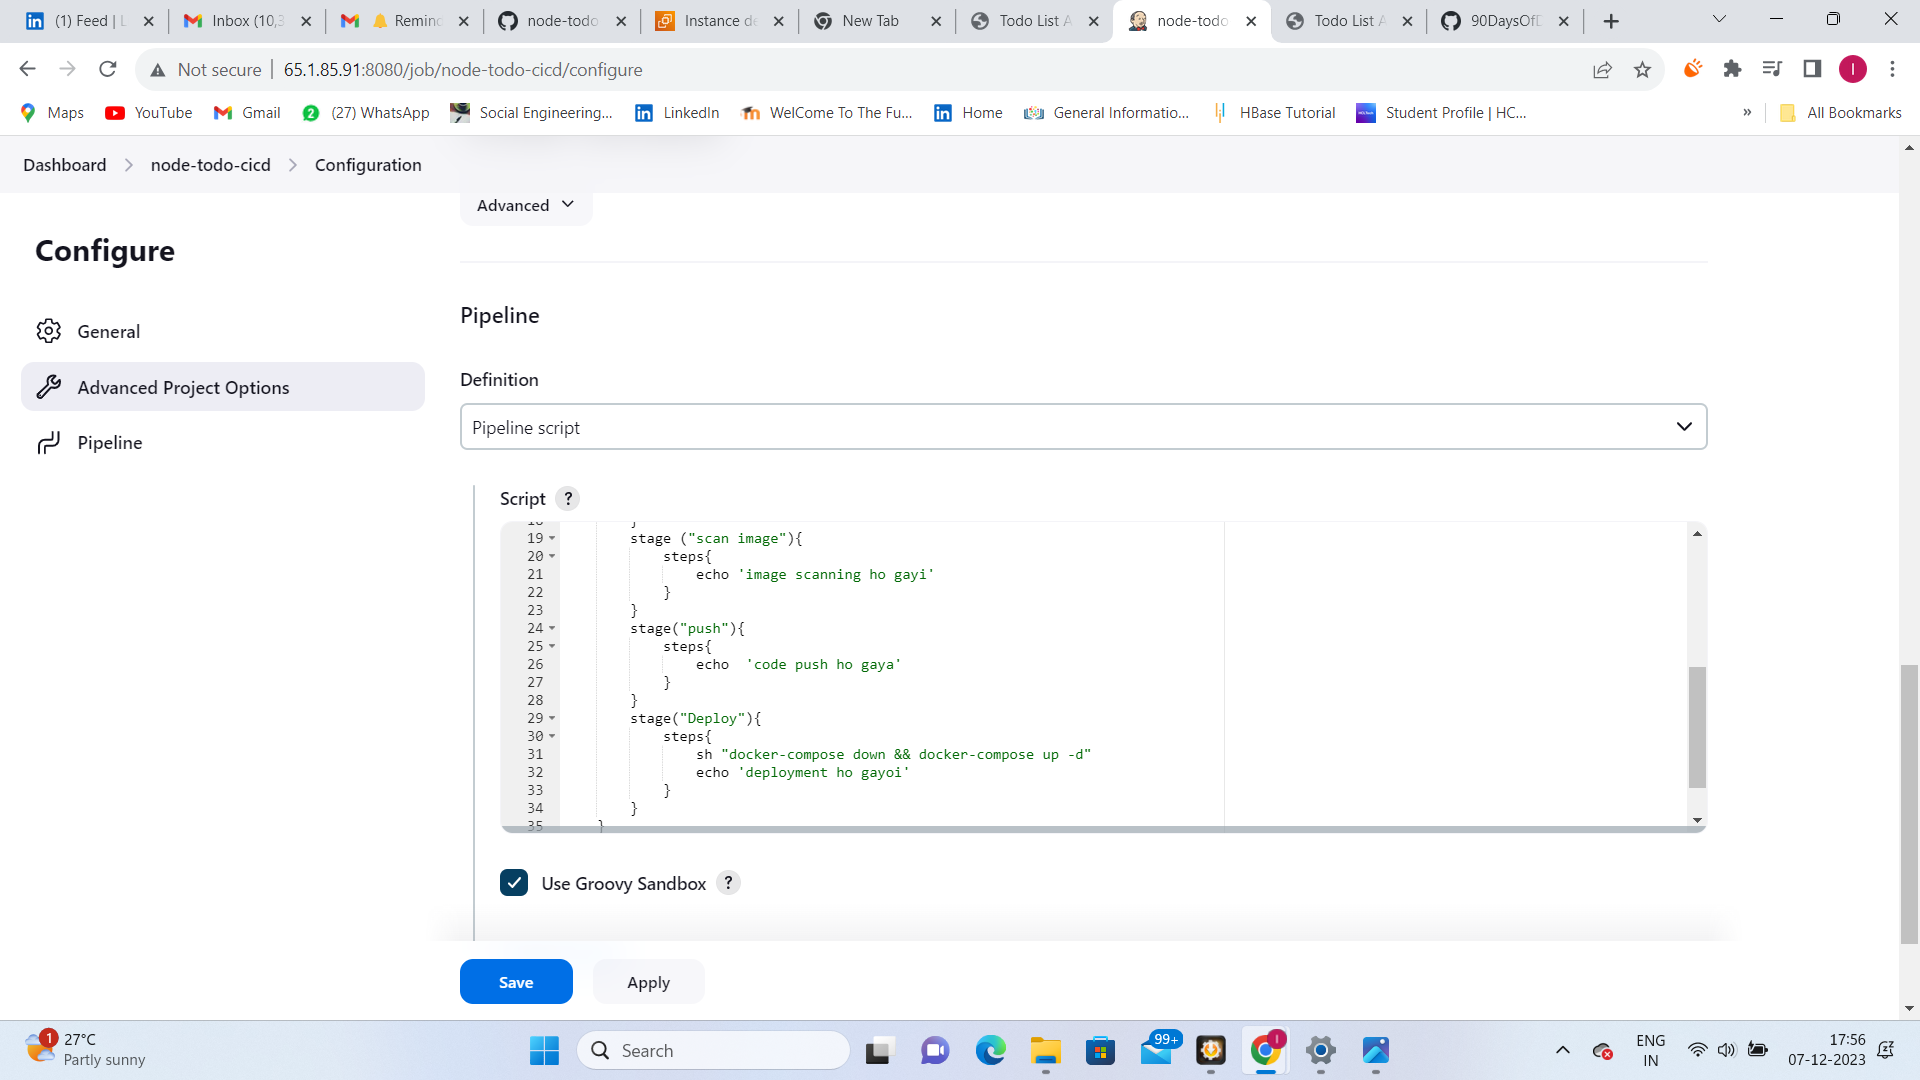
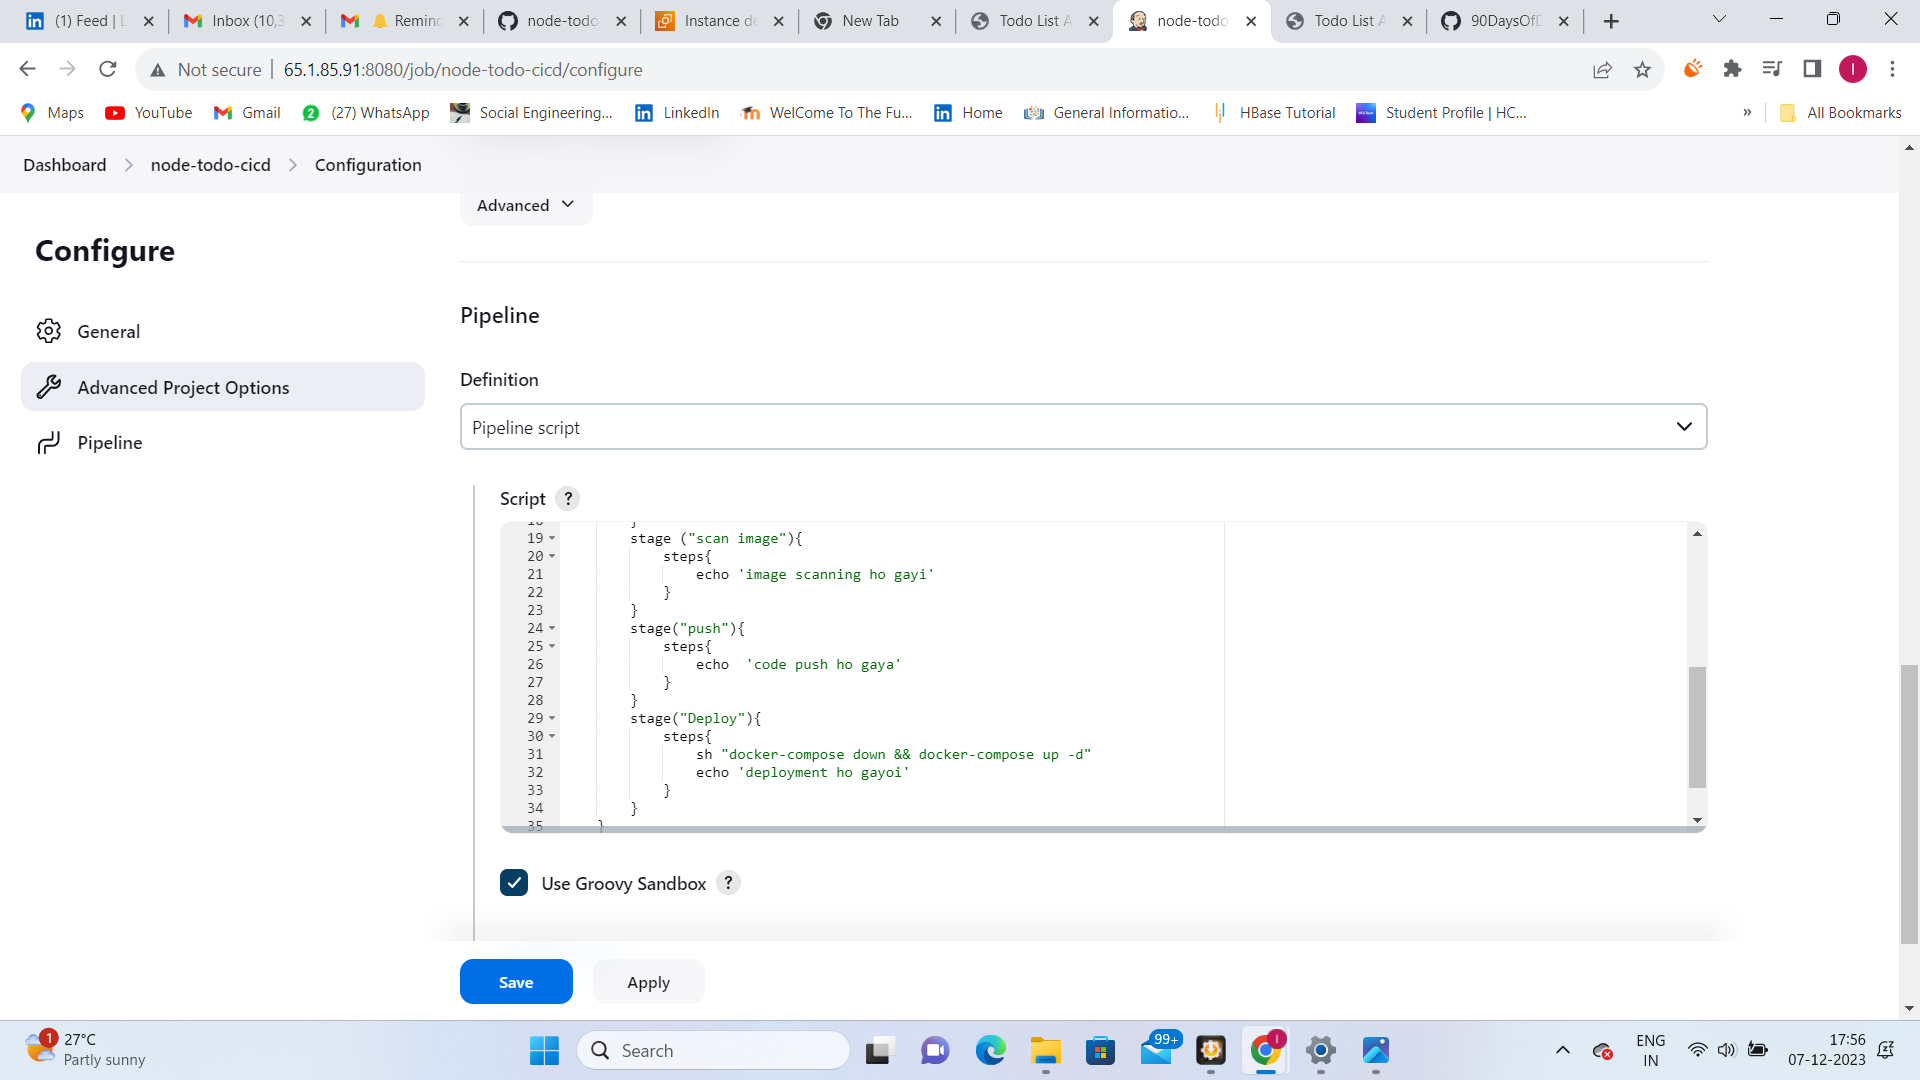
Replace the script with a more comprehensive example:
This script includes various features such as environment variables, pipeline options, manual input parameters, and conditional stages. Customize it according to your project's requirements.
Step 4: Save and Run the Pipeline
Scroll down and click on "Save" to save the pipeline configuration.
Click on "Build Now" to run the pipeline.
Step 5: View Results
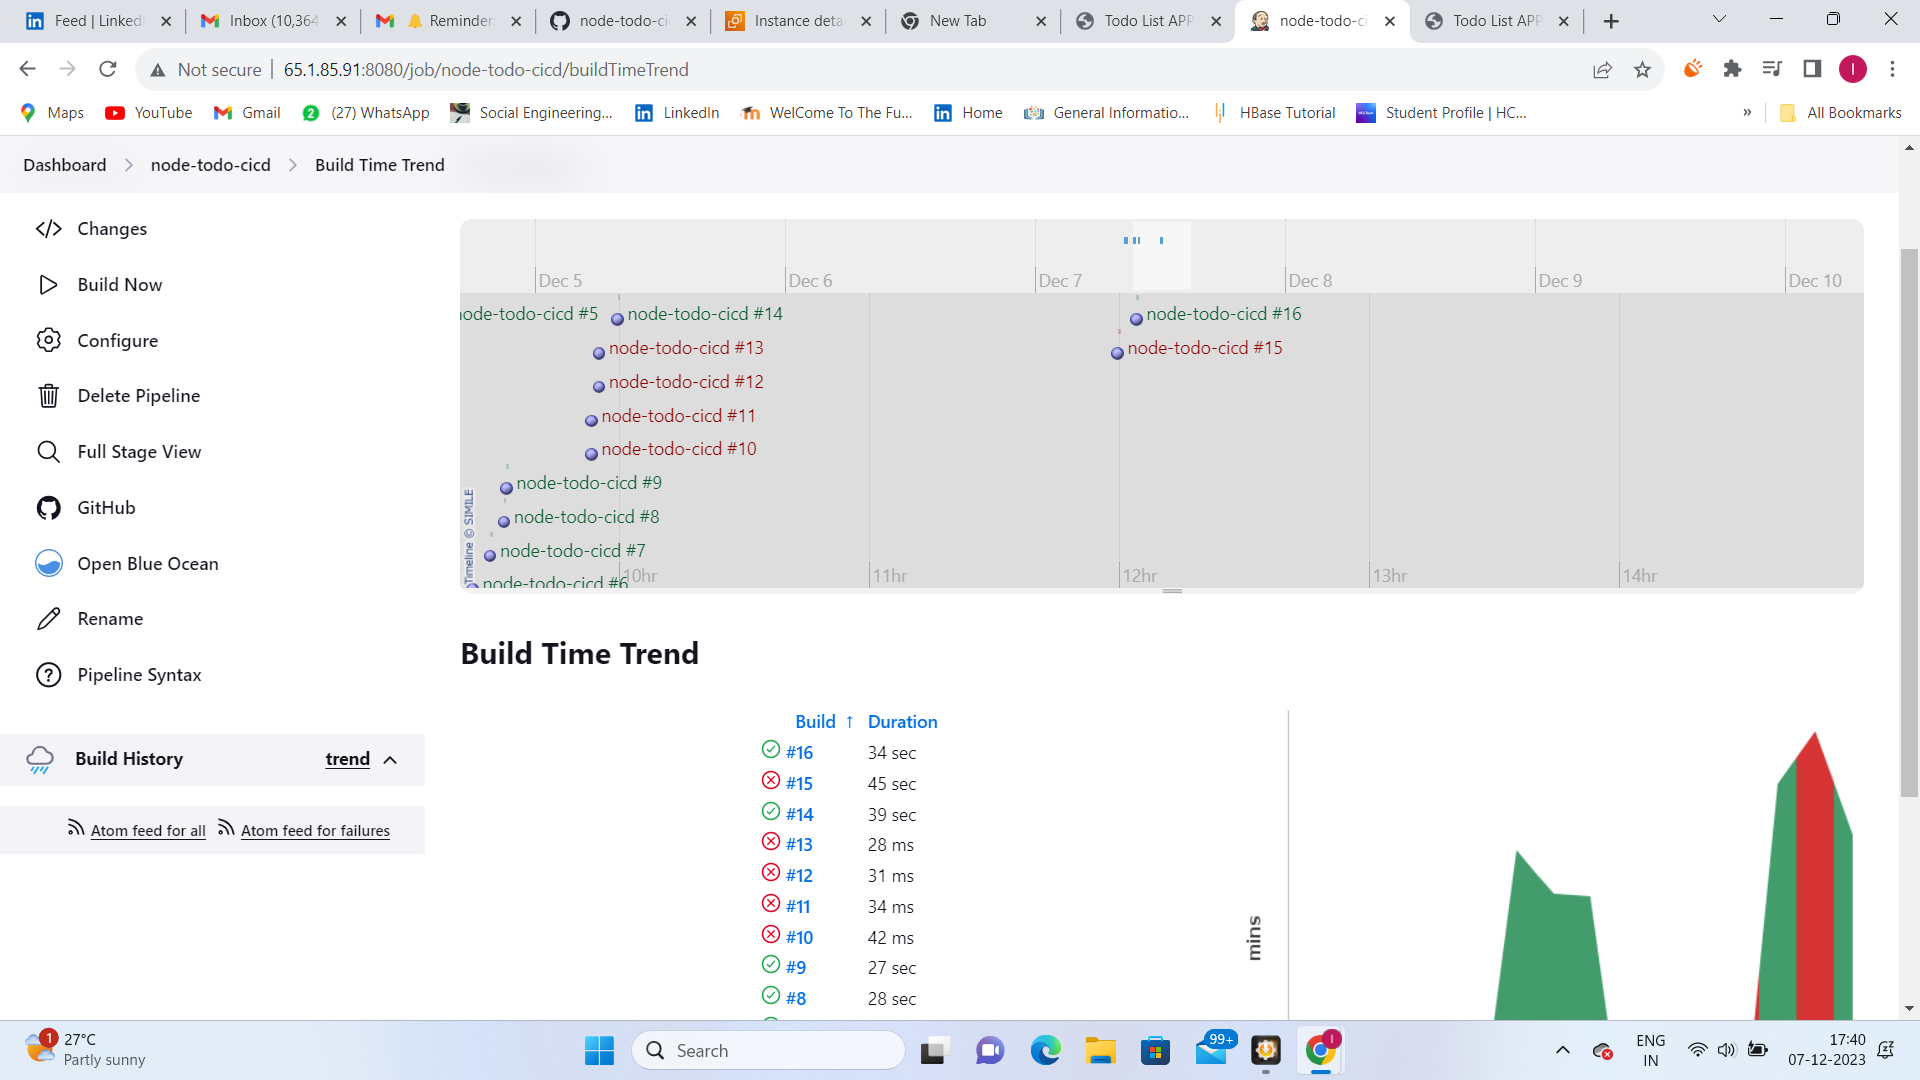
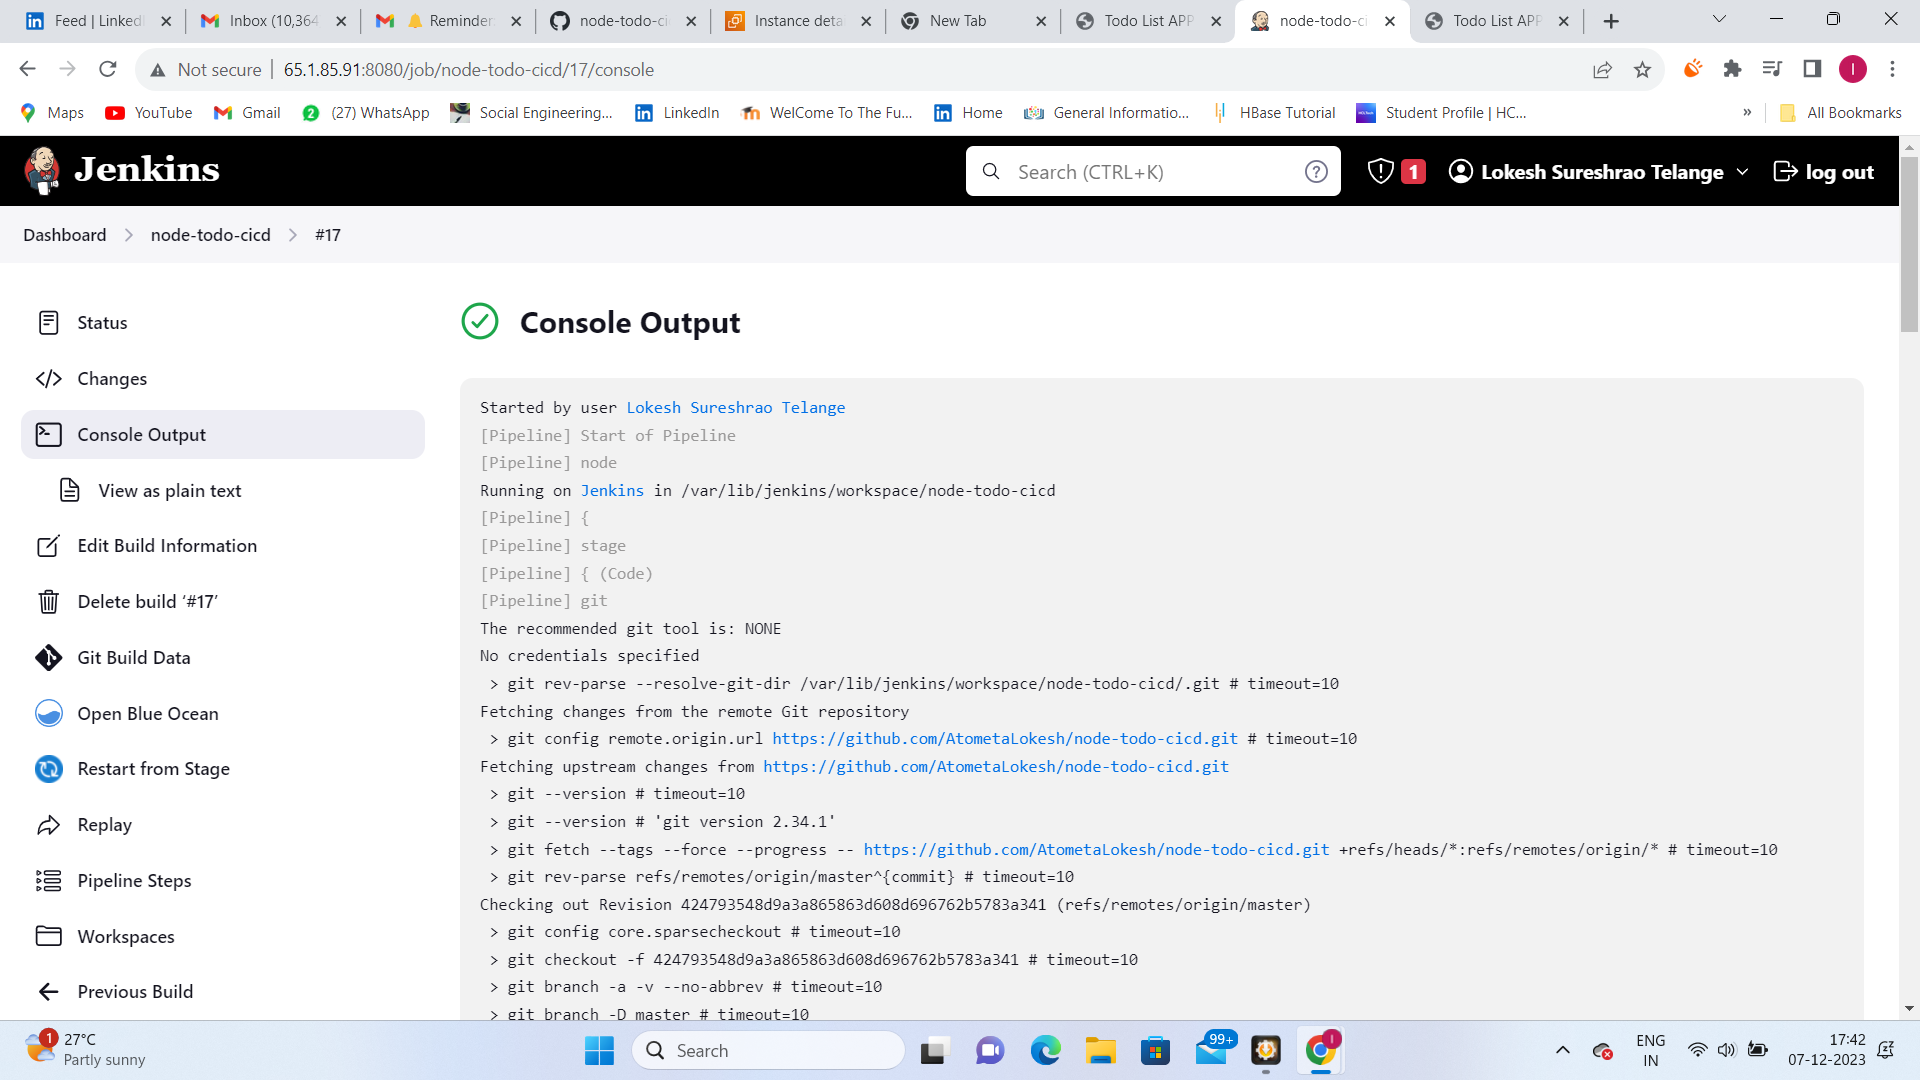
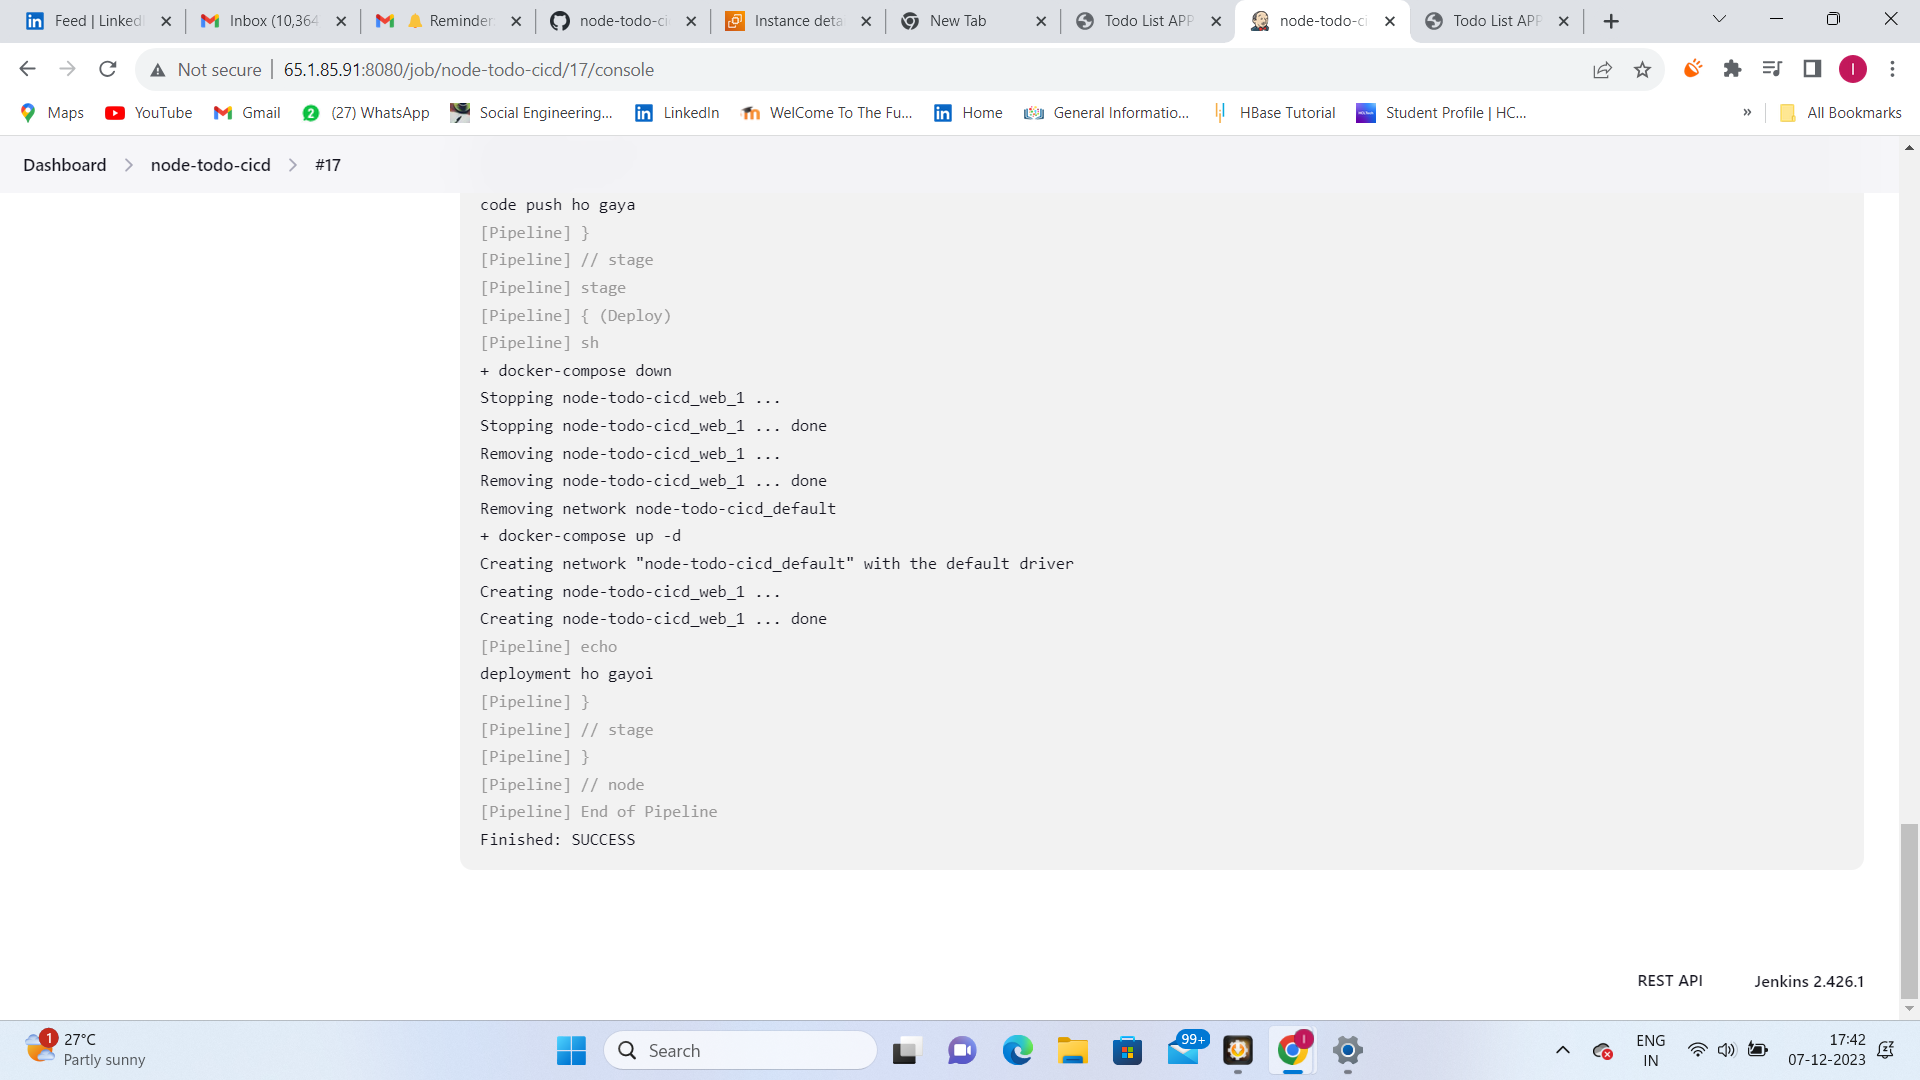
Monitor the progress and view the console output by clicking on the build number in the "Build History" section.
This extended example provides a more comprehensive template for a Declarative Pipeline, allowing you to incorporate advanced features and customization into your CI/CD process. Don't forget to commit your Jenkinsfile to version control for better traceability and collaboration.
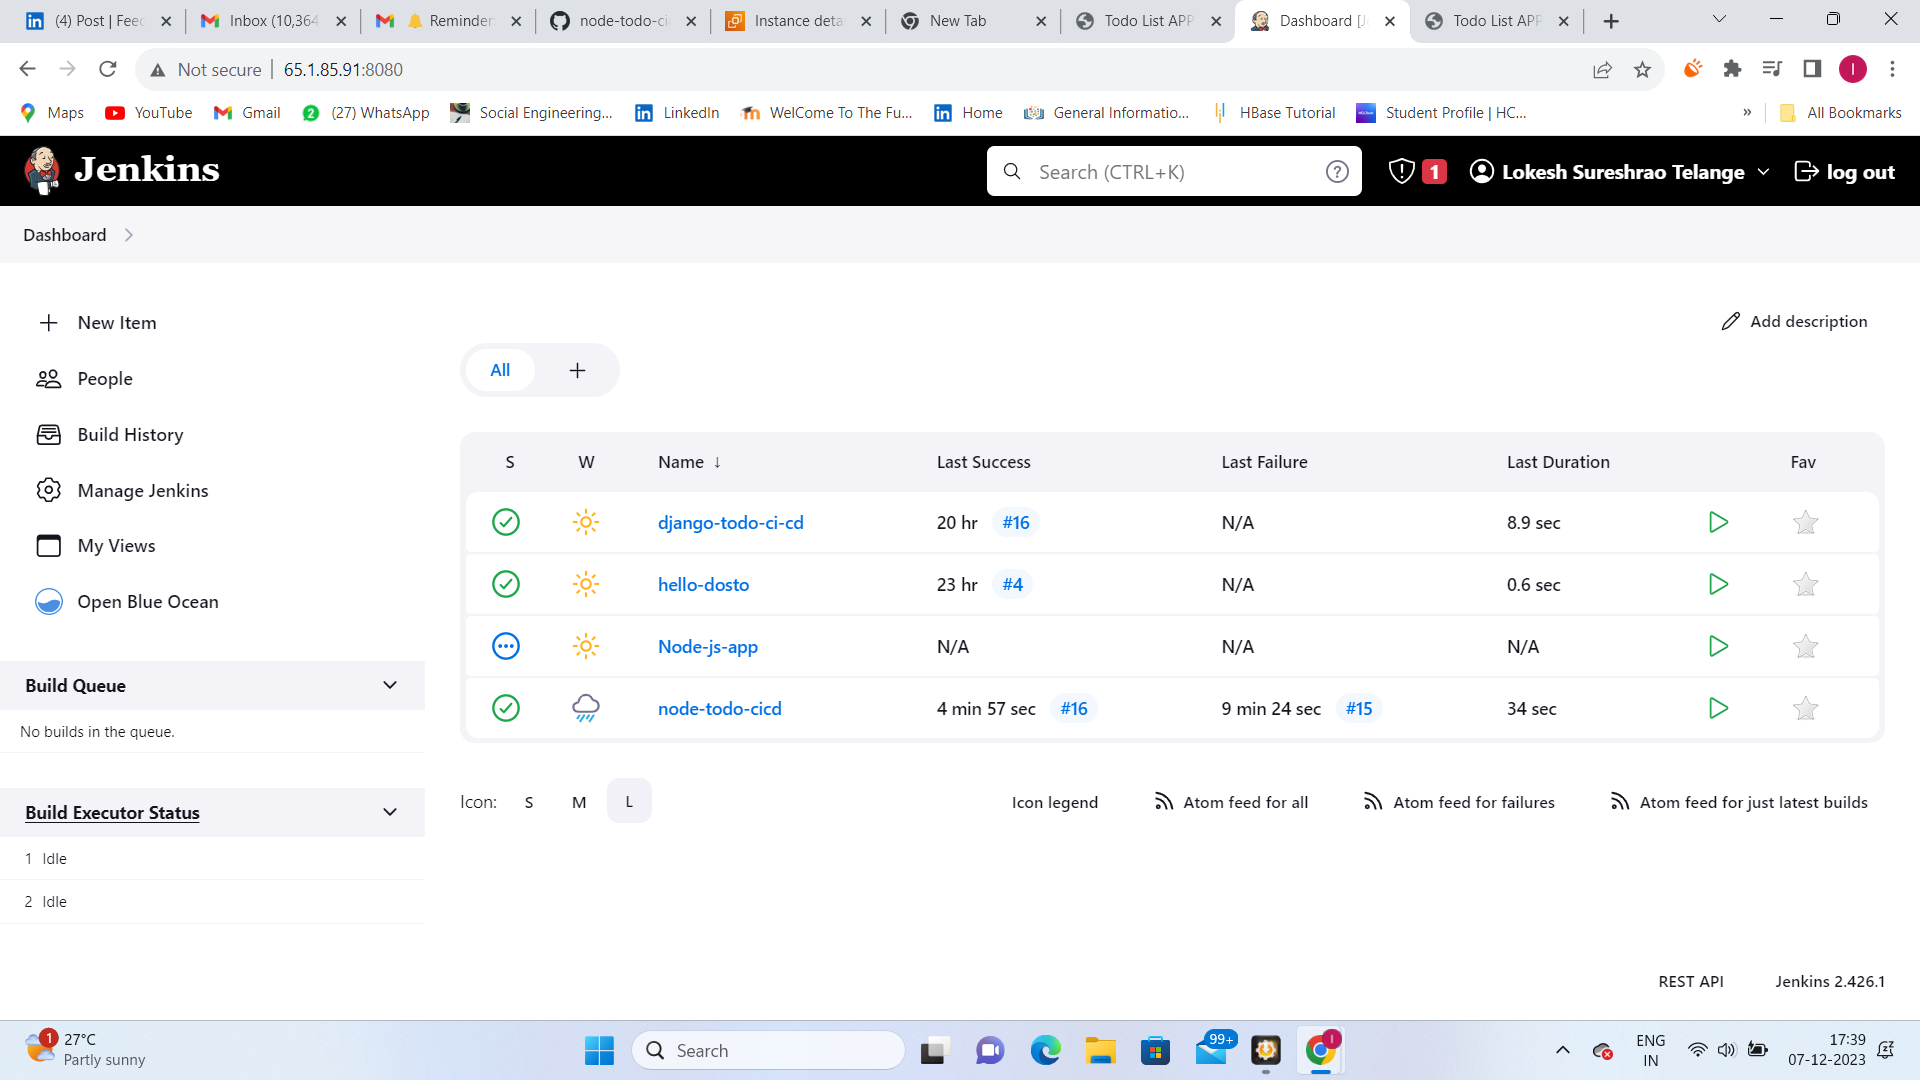
Conclusion: This task underscores the essence of Jenkins Declarative Pipelines in modern CI/CD practices. By embracing a code-centric approach, teams can achieve versioning, traceability, and collaboration for their CI/CD pipelines, marking a significant stride towards efficient and reproducible software delivery.